This small article describes a simple ClearQuest installation, using DB2 to store the ClearQuest data. The default values are used wherever possible in order to simplify and speed up the setup. This is a setup used for testing, so the security is not a major concern. In a production environment, the database administrator as well as the OS administrator and the ClearQuest administrator might follow specific guidelines in order to address the installation location, storage and the security concerns.
Installing ClearQuest (default installation)
To install ClearQuest, use Installation Manager 1.4.1 and point it to the ClearQuest repository. It is recommended to use a dedicated machine for the ClearQuest server installation.
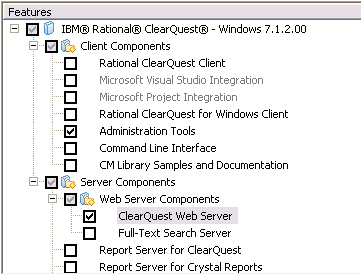
During the installation phase, select at least the ClearQuest Web Server and the Administration Tools options.
During the installation phase, select at least the ClearQuest Web Server and the Administration Tools options.
The port value can be kept to default. It is a good idea to specify the licenses server at this time (for example, 27000@my.license.server.full.name).
The ClearQuest installation comes with an embedded WebSphere server, so it is better if a WAS installation is not present, unless you plan to use it with ClearQuest.
After the ClearQuest installation completes (might need a restart), install DB2 (for example, 9.5.4).
The ClearQuest installation comes with an embedded WebSphere server, so it is better if a WAS installation is not present, unless you plan to use it with ClearQuest.
After the ClearQuest installation completes (might need a restart), install DB2 (for example, 9.5.4).
Preparing the databases
This installation creates 2 databases to be used by ClearQuest. One as a master repository (cqrepo) and one for the user data (cqdata).
To create the databases, open a DB2 CLP window and type in these commands:
To create the databases, open a DB2 CLP window and type in these commands:
db2 create db cqrepo pagesize 32 k
db2 create db cqdata pagesize 32 k
https://jazz.net/wiki/bin/view/Main/CQ-integration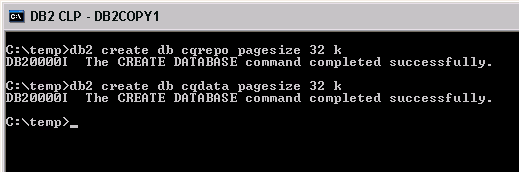
Then, update the newly created databases using the binddb2pkg tool from the ClearQuest installation folder:
binddb2pkg db_server_full_name cqrepo db2admin _db2admin_password_
binddb2pkg db_server_full_name cqdata db2admin _db2admin_password_
binddb2pkg db_server_full_name cqrepo db2admin _db2admin_password_
binddb2pkg db_server_full_name cqdata db2admin _db2admin_password_
For example:
binddb2pkg db2server.domain.com cqrepo db2admin qweRTY123
binddb2pkg db2server.domain.com cqdata db2admin qweRTY123
Follow the feedback from the binddb2pkg tool to see if any errors are reported.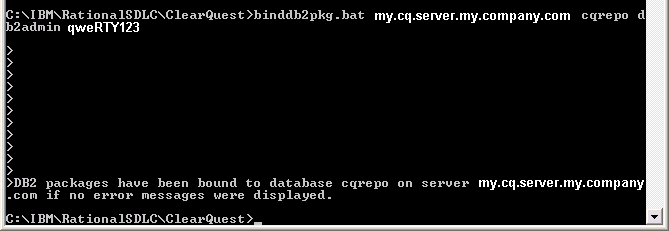
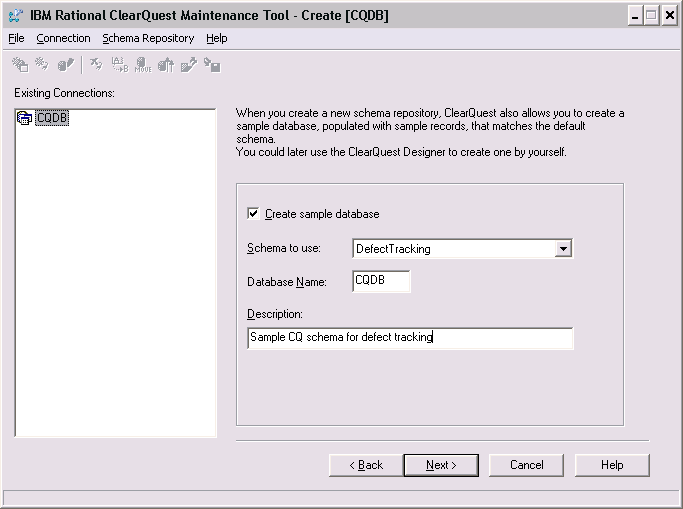
Creating the ClearQuest schema
To create a new ClearQuest schema, start the ClearQuest maintenance tool from the ClearQuest start menu group.
- Create a new connection (for example, CQDB)
- Select DB2 as a database type and provide the same info as in the case of the binddb2pkg tool for the cqrepo database
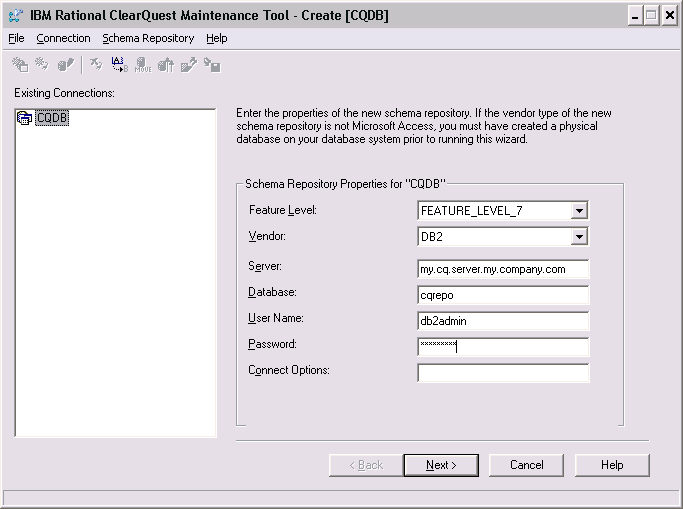
- For this particular installation the default code page 1252 was used
- Select a schema template (for example DefectTracking has some default data that can be used for testing) and provide a schema name (for example, CQDB)
- On the next page, provide the info for the cqdata database (similar to cqrepo)
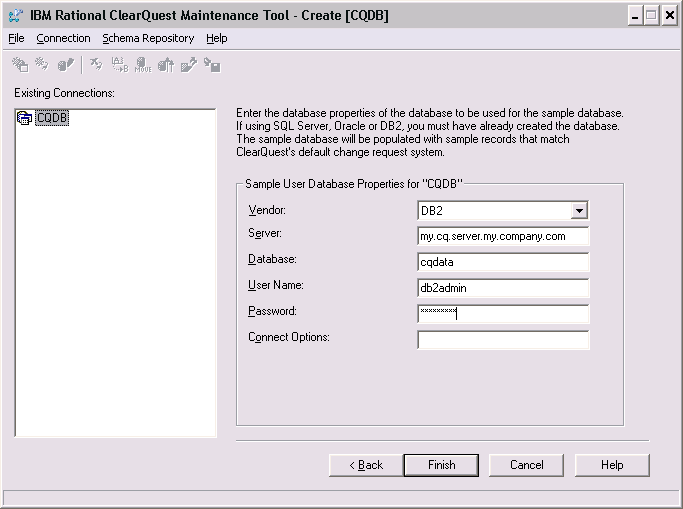
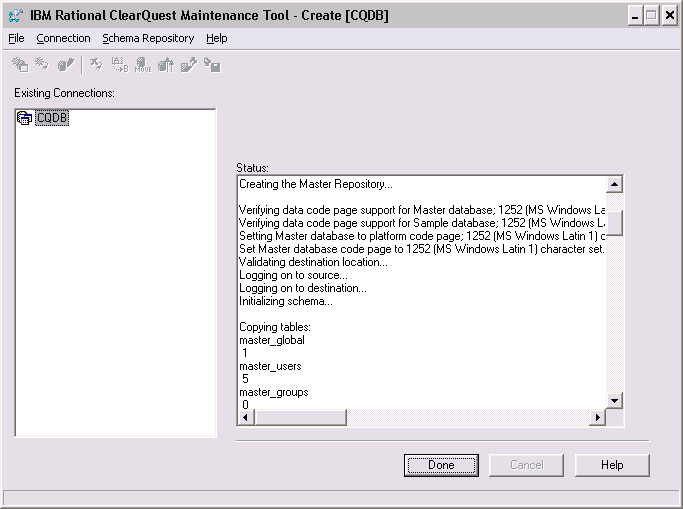
- Finish and wait for the schema to be created.
- If there are no errors, Done becomes available. Click on it to close the connection/schema creation wizard and exit ClearQuest Maintenance Tool.
Updating the ClearQuest schema
To update the ClearQuest schema and add support for the OSLC linking, ClearQuest Designer can be used.
- Start ClearQuest Designer. Login as admin (no password for the default ClearQuest installation) and expand the connection (in our case CQDB).
- Expand the schema to apply the OSLCLinks package to (in this case, DefectTracking)
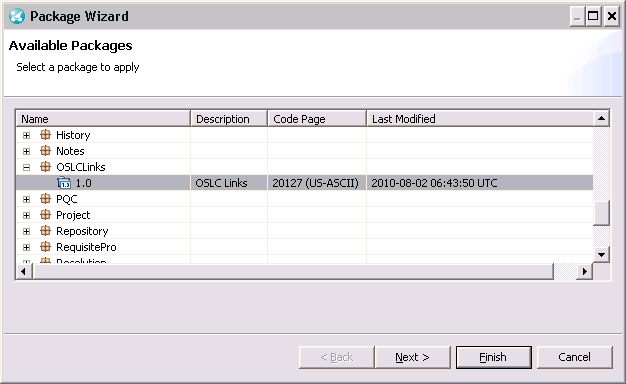
- right click on Version: 1 and choose Packages > Apply Package
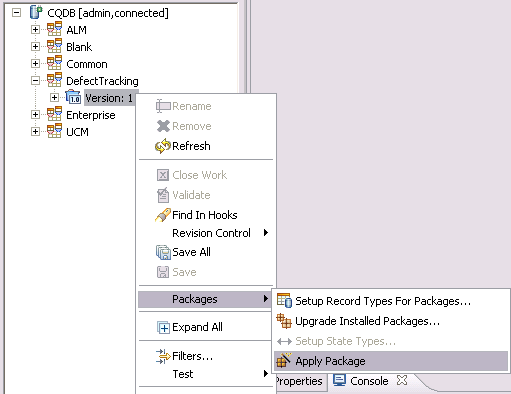
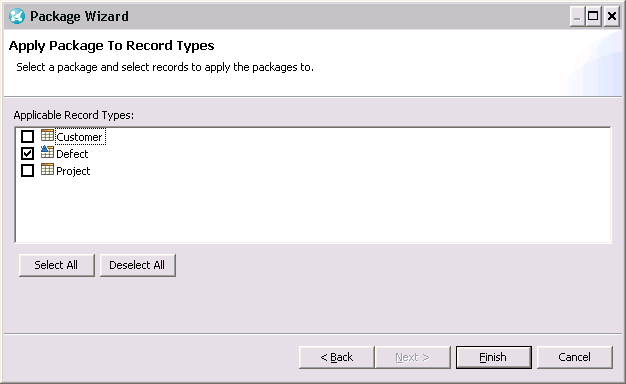
- expand the OSLCLinks group, select the package and click Next; select a type to apply the package to (for example, Defect) and click Finish
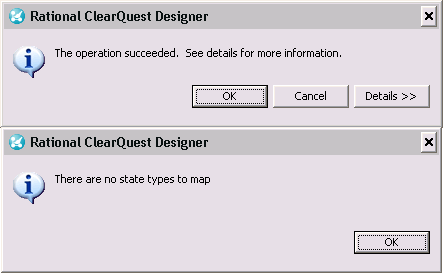
- a message should confirm that the package was applied successfully; another message might announce that there are no state types available for mapping
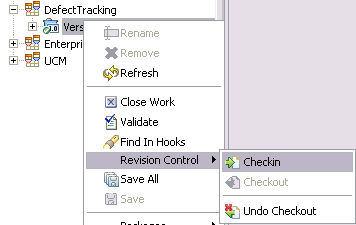
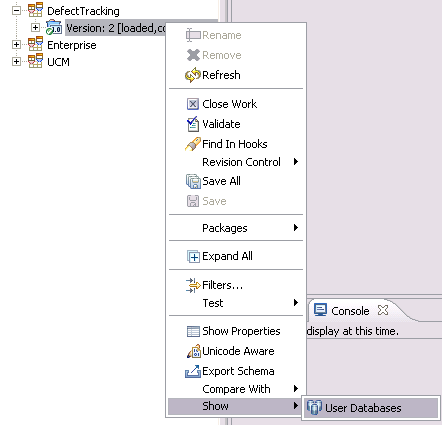
- right click on Version: 2 this time and choose Revision Control > Checkin; confirm the CheckIn? action.
- right click on Version: 2 and choose Show > User Databases
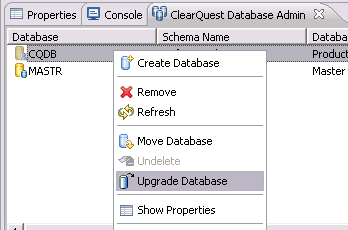
- right click on the user database in the User Databases view (in this case, CQDB) and choose Upgrade Database
- select Version 2 and OK
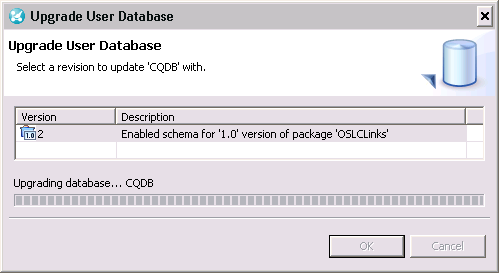
- after the database is upgraded, exit ClearQuest Designer
Using the new ClearQuest installation
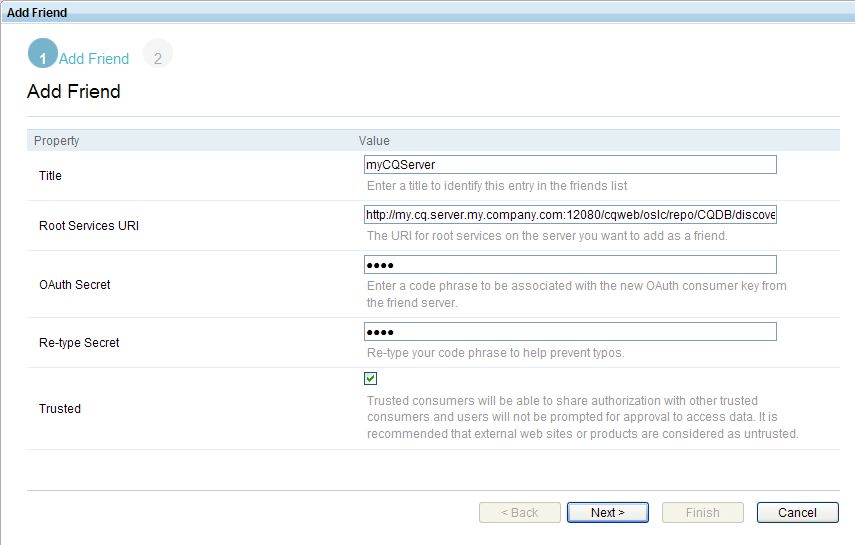
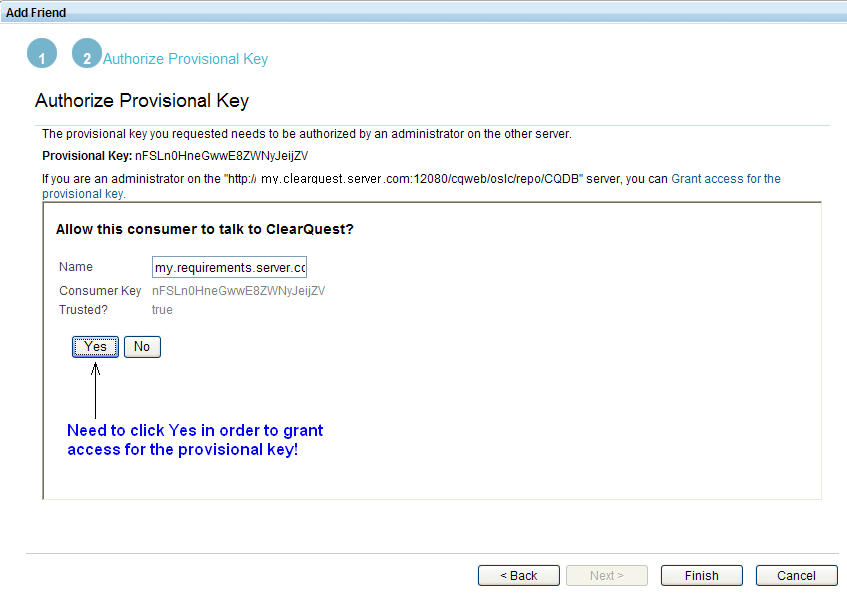
Register ClearQuest as a trusted friend in requirements server administrative interface (using this urlhttp://myClearQuest.full.server.name:12080/cqweb/oslc/repo/CQDB/discovery).
Link the requirements project area with the ClearQuest repository.
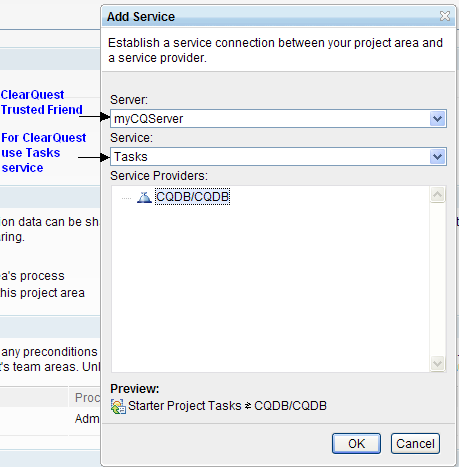
Save the project area.

Login using the requirements web client and create links from the requirement artifact to the ClearQuest change requests. After creating links from the requirements to the ClearQuest change requests, open the ClearQuest change requests and verify that the Links tab contains the backlinks pointing back to the requirements server artifacts.
For more info, please see the requirements server documentation.
댓글 없음:
댓글 쓰기